PRO Services & HELP
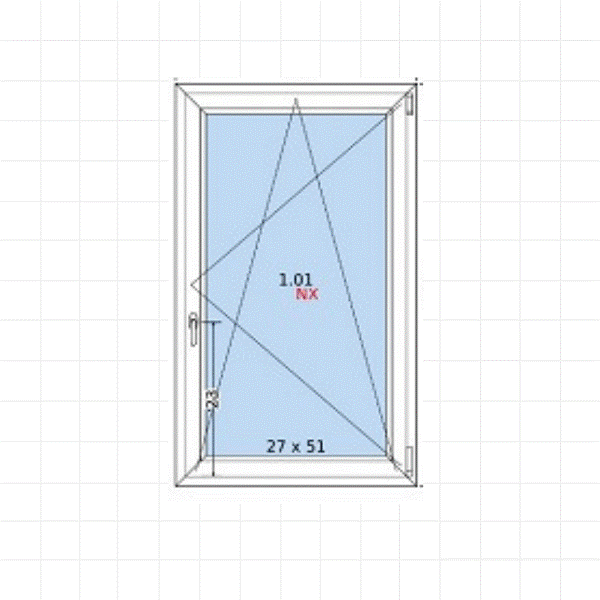
How much do performant and most world efficient tilt and turn system windows cost?
Discover the real uPVC windows price for professionals. We offer proven systems from Germany and Polish manufacturers. Get your personalized quote online – for free and you will be surprised with lower price for most efficient windows.
Pricing shown is for reference only and subject to market fluctuations. For current, project-specific pricing, schedule your free quote.
Tilt and turn uPVC window 35.4 in x 59 in (90 x 150 cm)
- double-glazed Aluplast Ideal 4000 375 USD
- triple-glazed Salamander bluEvo 82 448 USD
- triple-glazed Gealan S9000 471USD
What kind of uPVC windows did we compare — and why?
The goal was to give construction professionals a realistic overview of what they can expect to pay when importing windows for typical mid- to large-scale residential projects (e.g. villas, apartment blocks, housing developments).
We’ve compared:
1.The most budget-friendly double-pane option (Aluplast Ideal 4000)
- Available in standard and NFRC-certified versions
- Available with nailing fin option
- Number of panes: 2
- Uw: ca 1.3 W/m2K
- U-Factor: 0.23 Btu/h·ft2·F
- Gaskets: 2
- Frame and sash height: 4.29 in
A cost-effective triple-pane system with solid thermal performance (Salamander bluEvolution 82)
- Available in standard and NFRC-certified versions
- Number of panes: 3
- Uw: ca 0.75 W/m2K
- U-Factor: 0.13 Btu/h·ft2·F
- Gaskets: 3
- Frame and sash height: 4.84 in
These models reflect three pricing tiers – from basic to high-end – so you can see what you get for the price.
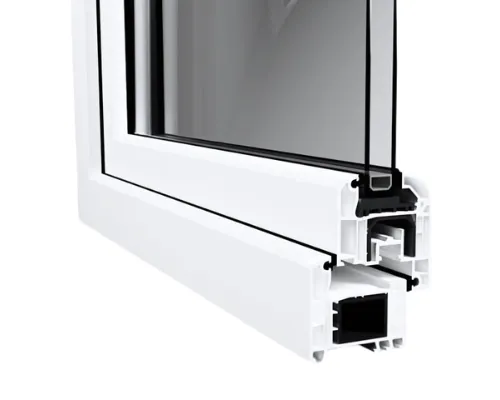
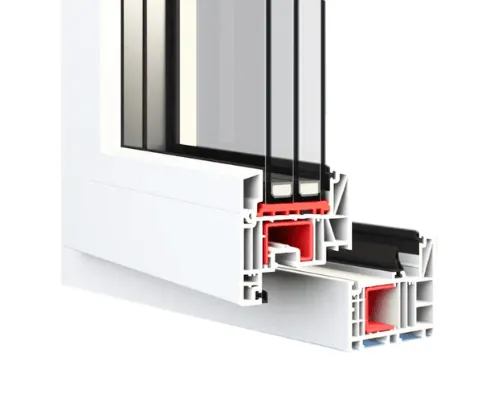
Most Spec Home Builders lose thousands of dollars per project making a binary decision: plastic or aluminum windows?
European uPVC windows changes that assumption and can even replace aluminum in some cases. However, choosing uPVC or aluminum blindly still has hidden traps that will instantly eat into your profit.
Below, we show where to use uPVC, where to pay extra for aluminum, and how to build a hybrid window set that protects your profit without limiting the premium look.
American vs European Windows Cost – Quick Comparison 2026
On average, European windows (especially those made in Poland) can cost 50% less than similar American systems. And in some cases the difference is even bigger.
For example, one of our customer paid $949 for a 60″ × 80″ aluminum window from Poland. A similar product from premium US brands like Marvin (Signature Series), Pella (Reserve), or Andersen (E-Series) cost over $2,000. That’s more than double the price for the same function and often better specs.
In some cases, especially with high-end custom windows, the price difference can reach 3 or even 4 times. That’s based on real orders and quotes we’ve seen from U.S. builders and developers.
So if you’re sourcing dozens or hundreds of units, the potential savings quickly add up without cutting corners on quality. To learn more about import profits, read article: When importing windows pays off for spec home builders.
Price examples: European vs. U.S. windows
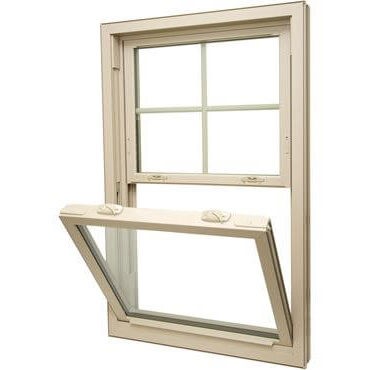
USA: 750 USD
single-hung
Vinyl 36″ x 60″
Average price as of May 2026 for a basic vinyl window. Based on data from U.S. home improvement stores and websites
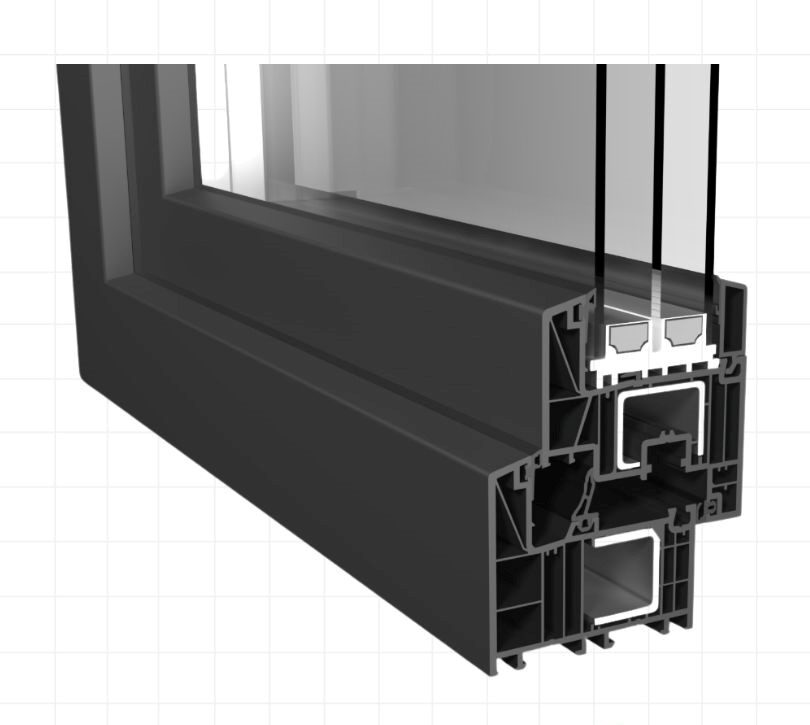
Europe: 729 USD
Premium Tilt and turn window Thermally aluminum
36″ x 60″
Aluprof MB-79N
Price as of May 2026.
Europe: 390 USD
Tilt and turn window-uPVC (comparable with fiberglass)
36″ x 60″
Salamander bluEvolution 82
Price as of May 2026.
Average Cost of European Windows vs. US Brands (2026 Price Matrix)
To help you estimate your next project budget, here is the architectural cost breakdown based on real 2026 landed import data compared to domestic premium brands (standard sizing 60″ x 80″):
Window Material
- uPVC
- Aluminum
- Alu-Clad
European Price
- European Price
- $850 – $1100
- $1100 – $1500
US Market Equivalent
- $900 – $1200
- $2000 – $2500
- $2500 – $3500
Frameless sliding patio doors
Frameless sliding are also called large sliding doors or oversized doors. This is due to the fact that they can be used for sashes and structures with a height of up to two floors and almost any width – thanks to the modular system of the threshold and lintel frames.
Frameless sliding patio doors are an ideal solution for patios or terraces in residences, apartments or hotels, as well as other facilities where even the smallest architectural detail is important.
The large-scale possibilities of frameless systems allow for almost unlimited use in modern buildings or lofts.
Thanks to the minimum number of frames and posts (even less than 1% of the surface!), These doors let in the maximum possible amount of light into the building.
Sell your spec home faster and for more with frameless sliding doors
Frameless construction
Structural schemes for architects available
Sliding systems of frameless patio doors have almost unlimited design possibilities, although they differ slightly depending on the system provider. We describe them in detail in our guide in a special section where we review systems.
The width of the center post
A very important element of the glass door structure are the central posts – connecting the moving sashes with the fixed parts. They are even less than 1.18 in wide – which with large dimensions of the sashes (max. 13 ft 1.48 in x 13 ft 1.48 in) is less than 1% of the width of the structure.
Maximum glazing size
The maximum glazing size currently available on the market is 13 ft 1.48 in x 13 ft 1.48 in. With a modular design, the structure can have virtually unlimited width.
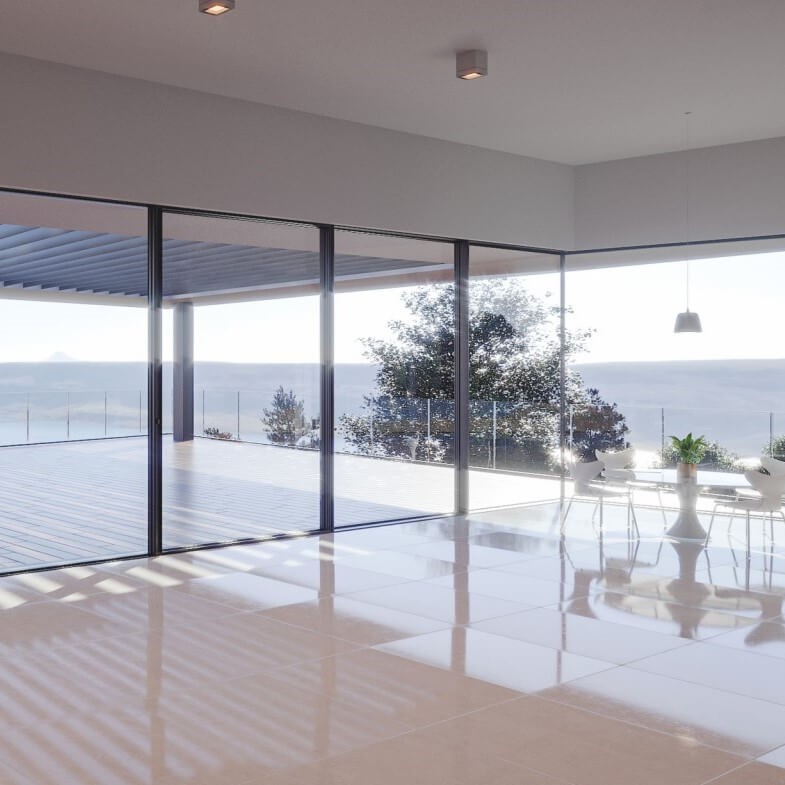
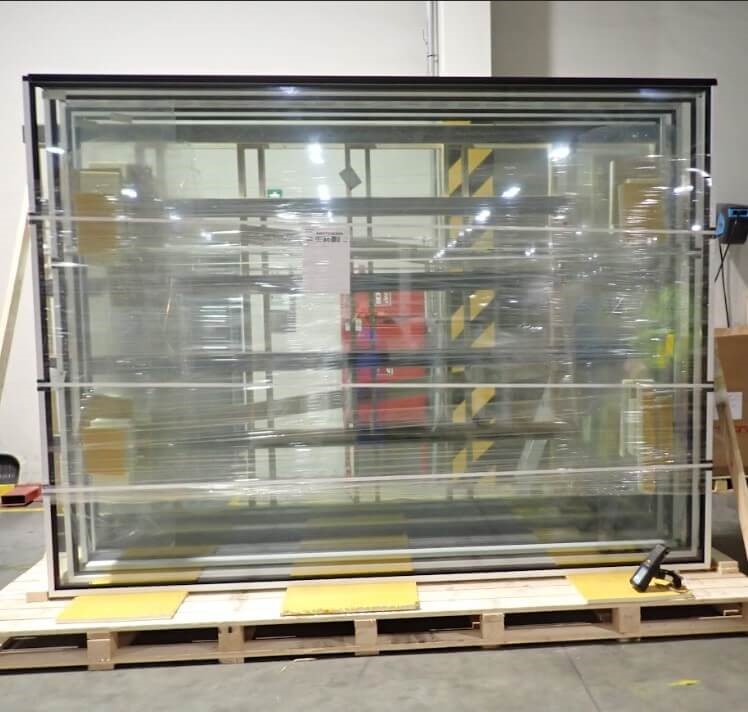
En example of Cortizo COR Vision Plus prepared for the shipping.
Glass construction size: 30 ft x 10 ft 4 in
For Spec Builders: How To Install European Tilt & Turn Windows in U.S. Framing (Video Tutorial)
Explore how to install European windows in a U.S. building to avoid costly mistakes. Incorrect flangeless installation can quickly turn savings into callbacks, water intrusion claims, and schedule delays.
- installation video CLICK HERE
- And here on the link
https://youtu.be/TMPlwFOj9Rw?si=EQ_kC4elvtx_D_MZ
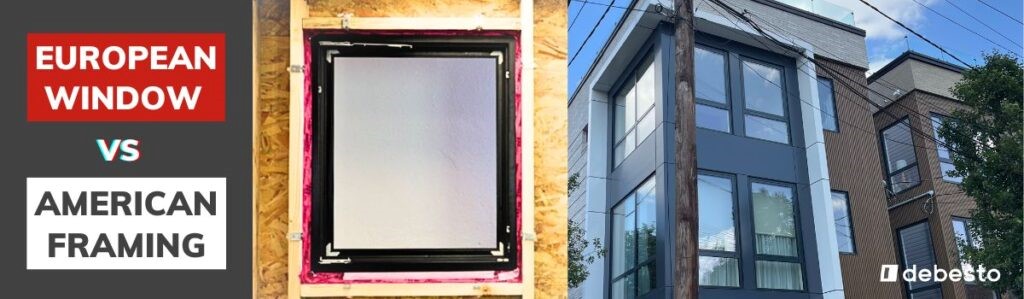
Can I install European windows using the American method?
Yes, you can order windows with nailing flanges. However, keep in mind that these products are 13% to 34% more expensive than standard models.
Which accessories are included with the windows, and what do I need to buy myself?
Every window set includes hardware, handles, and strap anchors. You need to provide the tools yourself, as well as installation materials like screws, foam, and sealing tapes.
How much time should I plan for installation compared to standard U.S. windows?
Flangeless installation typically takes about 1.5 times longer than the standard “nailing fin” method.
Expect the first few windows to take longer (up to 2-3x), but the pace picks up significantly once your crew adapts.
You trade speed for precision: this method gives you full control over leveling and sealing tightness, ensuring a high-quality install regardless of framing imperfections.
Stage 1: Prepare the window opening for installation
Start with measuring and preparing the windows opening. If you are unsure whether the opening is perfectly square, measure the height and width in three places and use the smallest value.
Tools needed for measuring:
- a retractable or laser
- measuring tape
- a spirit level
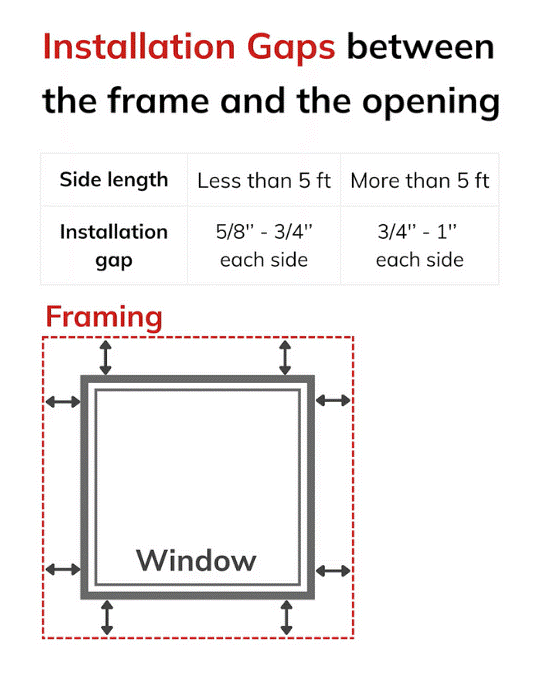
The first thing for you to watch out are window and opening sizes. In European installation, the window should be slightly smaller than the opening.
How much space to prepare as a mounting gap between frame and opening?
- For window size up to 5′ x 5′ prepare a gap of 5/8″ – 3/4″ on each side
- For window size above 5′ x 5′ prepare a gap of 3/4″ – 1″ on each side
If planning to install windowsills, consider adding a sill adapter, which is usually included by default with PVC windows and is often an option for aluminum windows. The standard height of a sill adapter is 1.2 inches and should be factored into the final measurements.
Sealing
Prepare the window opening the way you normally would. Seal the bottom of the window opening carefully. Use airtight exterior window installation tape or other U.S. sealing systems. Make sure to prevent gaps sealing bottom and bottom corners.
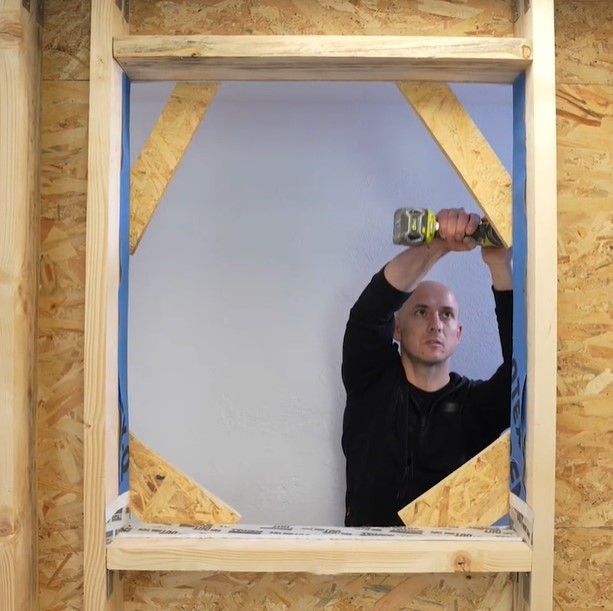
Prepare the window placement
Use four wooden blocks to simplify placement and leveling.
If the window should be flush with the exterior wall, screw the blocks into the opening’s corners aligned with the wall face.
If the window needs to be recessed inward, place the blocks further inside.
If the window should be projected outward, mount the blocks with spacers underneath.
Stage 2: Prepare the window for installation
You will need:
- a screwdriver
- a mounting handle (+ a punch and pliers)
Remove the sash from the frame
If working with a tilt and turn window, remove the sash to make the frame lighter and easier to handle.
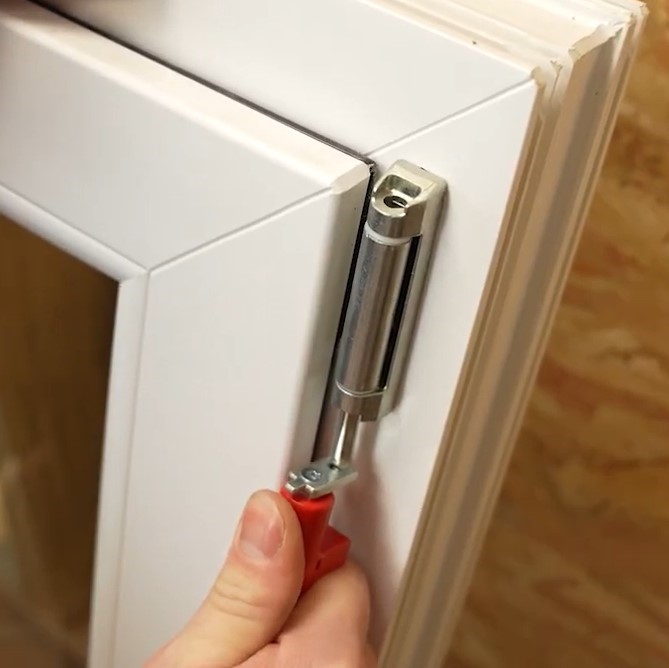
For visible hinges:push the pin out of the top hinge, using a specialized tool included in a mounting handle or a punch and pliers.
Start from the top and push the pin downward once part of the pin is exposed pull it out completely to release the top hinge. Then lift the sash off the bottom hinge.
Watch out: The European sashes are more heavy than American ones, lift it with two or more people when needed.
For concealed hinges, the process depends on the brand and model; check with your supplier for specific instructions.
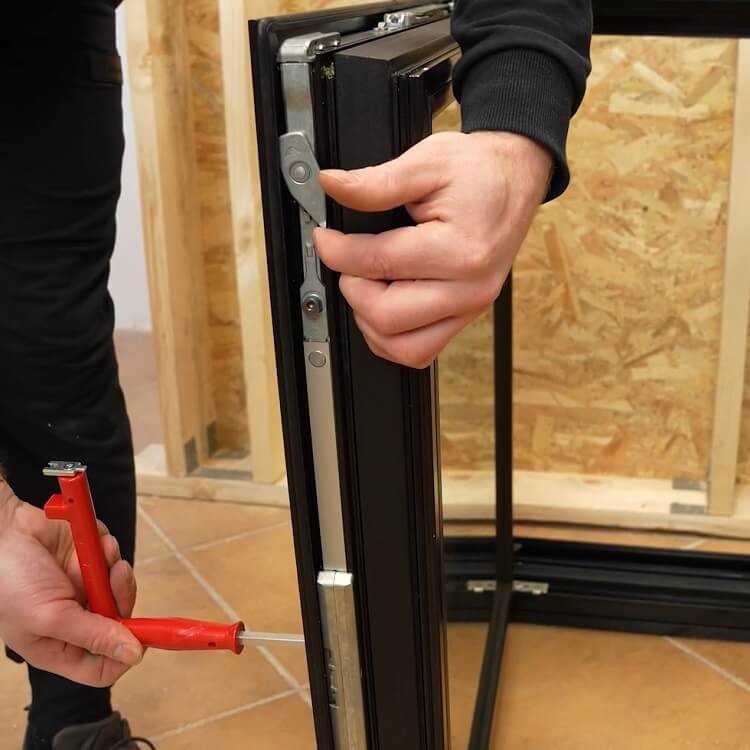
For hidden hinges (our case):
open the window to a 90 degree angle unlock the handle position lock.
Rotate the handle into the vertical tilted position to release the upper scissor mechanism.
Lift the sash slightly and push it toward the frame to disengage the second locking point.
Once the scissor arm is detached, lift the sash and set it aside.
For concealed hinges, the process depends on the brand and model; check with your supplier for specific instructions.
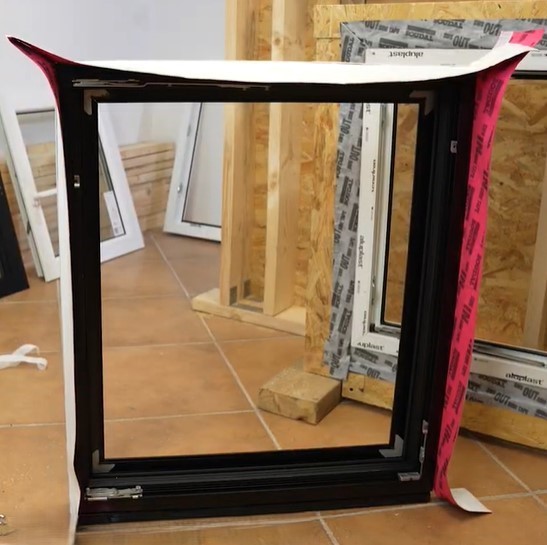
Seal the window frame
Apply waterproof and vapor tight tape to the inner side of the frame’s perimeter to ensure an airtight seal.
In the corners, cut and overlap the tape by its full width, but do not remove the protective layer from the overlaps yet.
If you are using a sill adapter, seal the bottom part after placing the window in the opening. If not, apply the tape to the bottom edge.
Stage 3: Install the window fixing strap anchors
You will need:
- waterproof tape,
- a utility knife,
- fixing strap anchors,
- a power screwdriver,
- stainless steel or galvanized self-drilling screws
Insert the strap anchors into the window frame
- Maximum spacing between fastening points: 27.5 inches
- Distance from the inner corner of the frame 4-6 inches
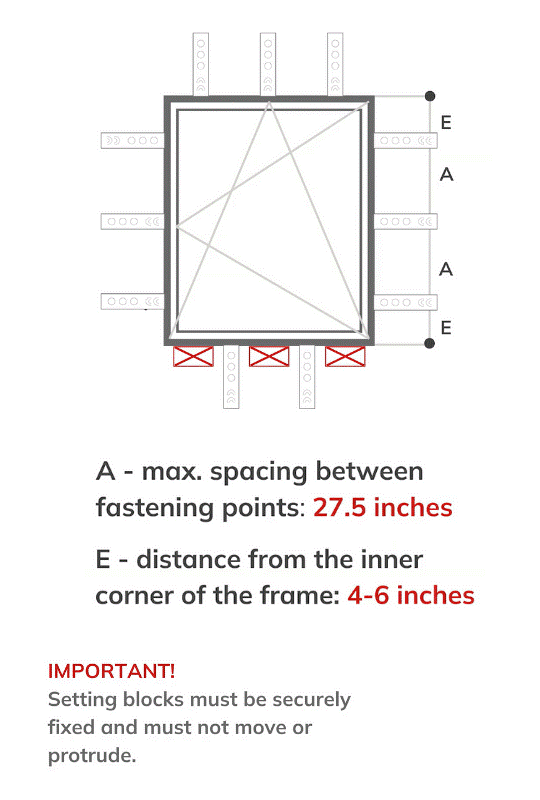
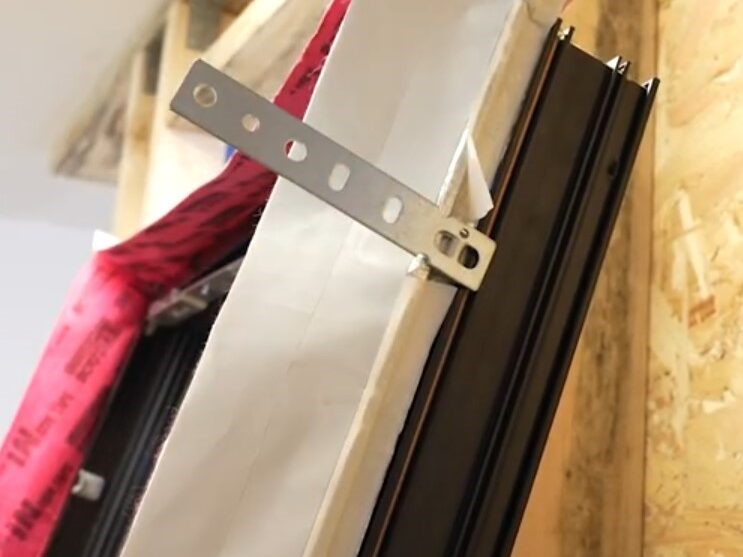
Following the instructions above, place each anchor into the window frame while it is in a vertical position.Then rotate it downward until it is perpendicular to the frame, forming a right angle.
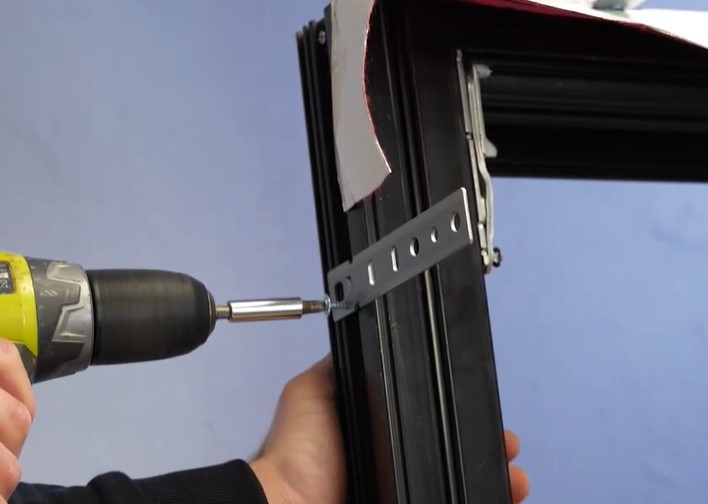
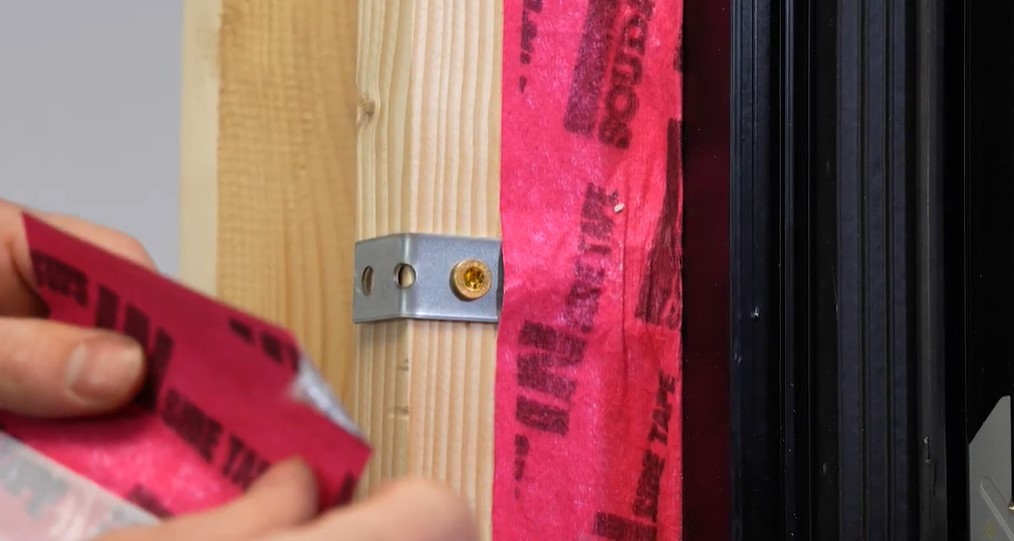
Screw the strap anchors in place using self-drilling screws made of stainless steel or galvanized steel.Using the proper material prevents corrosion caused by the contact of regular steel with aluminum.
Once the anchors are screwed in, bend them inward toward the window to make positioning easier.Secure the tape with regular adhesive tape to protect it from damage during positioning
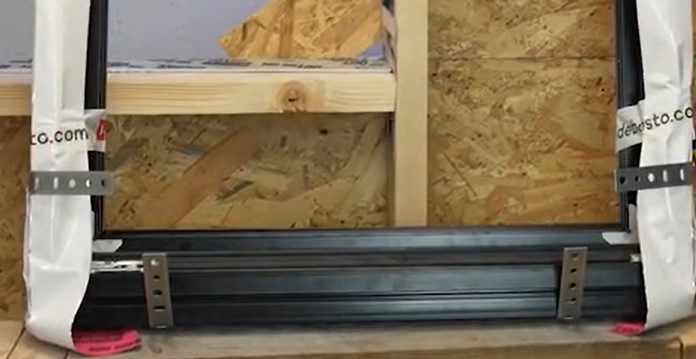
Stage 4: Place the window in the opening
You will need:
- spacer blocks,
- support blocks,
- a level.
Leveling the window
There are two ways to level the window at the bottom: with or without support blocks.
If the sill surface is perfectly flat and level, support blocks are not required. The window may be placed directly on the surface and sealed with an adhesive sealant.
If the bottom of the opening is uneven, support blocks must be used.
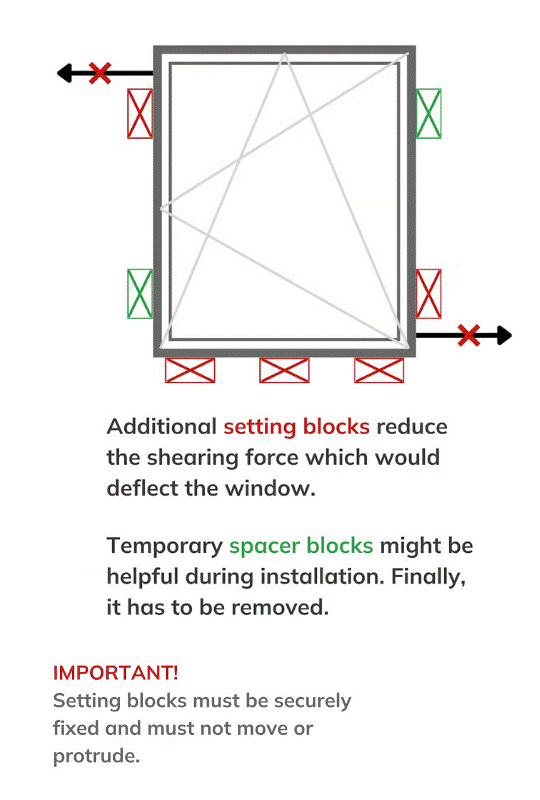
Important: Bottom support blocks must be flush with the window frame and securely fixed in place. They must not move.
Support blocks (permanent shims) remain permanently installed to prevent frame distortion. Position them under the hinge side at the bottom and at the opposite corner to properly distribute the load.
Spacer blocks (temporary shims)are temporary and may be removed after installation.
Set the window on the lower support blocks. Align it vertically and horizontally and wedge it securely. Ensure even mounting gaps on all sides – this will be crucial for proper sealing.
Stage 5: Mechanical installation
You will need:
- a drill,
- structural wood screws,
- a hammer.
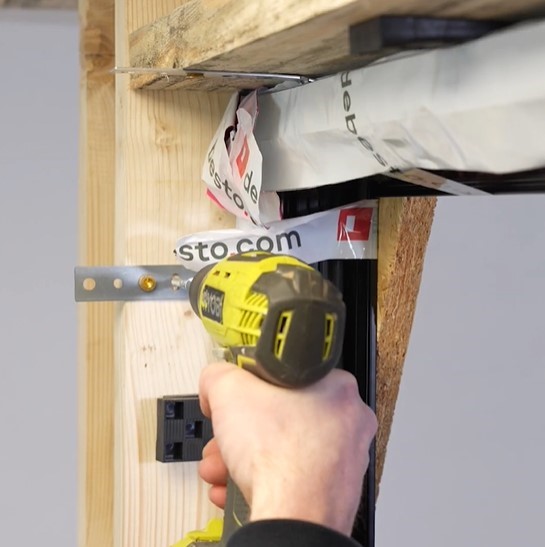
Fasten the pre-installed strap anchors to the window opening framing using structural wood screws, two per anchor.
If any anchors protrude beyond the wall surface, bend or trim them as needed.
Remove the temporary spacer blocks.
Stage 6: Insulation and sealing
Apply the low-expansion foam
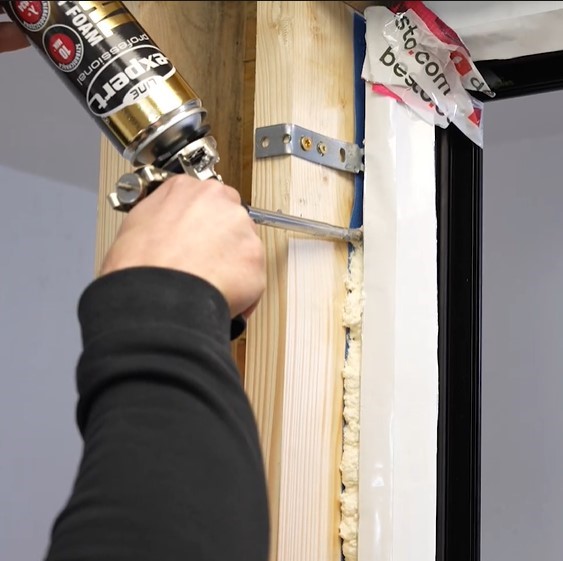
Before applying the low-expansion foam, lightly dampen (do not soak) the surfaces.
Apply foam evenly from the bottom, following the manufacturer’s guidelines. For larger gaps, apply in two stages, waiting for partial curing between layers.
Once cured, trim excess foam carefully to maintain insulation properties. Avoid compressing or tearing it. Ensure the excess membrane is cut at the outer edge to prevent folds that weaken thermal performance.
Pro tip (hot weather): In hot weather, store the low-expansion foam can in a refrigerator before use to slow down expansion. Do not freeze the foam. Always follow the foam manufacturer’s storage and temperature recommendations.
Applying inner and outer sealing tapes
Inner tape (inside):
Use vapor-permeable tape. Remove protective liners and apply from the bottom up. If installing a sill trim, attach the tape to it.
Press the tape firmly without stretching, forming a compensation fold to absorb structural movement.
Secure all mounting strap anchors passing through the sealing layer with tape to prevent thermal bridging.
Outer tape:
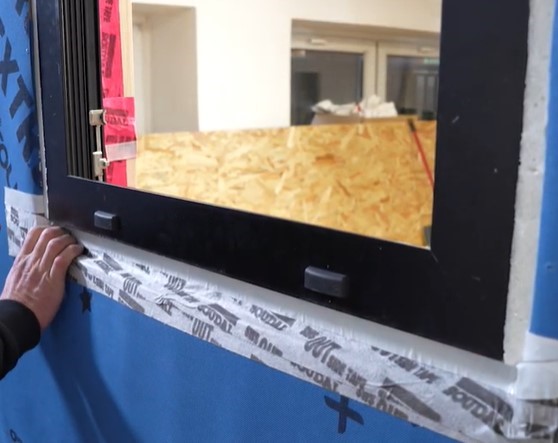
Use waterproof yet vapor-permeable tape. Apply from the bottom, overlapping layers like roof tiles.
The amount overlapping the window frame depends on final visibility.
The upper tape is applied last, connecting to the exterior windproof membrane to prevent water infiltration.
Finally, seal cut sections of the membrane with tape.

See our newest window and door installations, design inspiration, and project updates.
See our newest window and door installations, design inspiration, and project updates.
See our newest window and door installations, design inspiration, and project updates.
See our newest window and door installations, design inspiration, and project updates.
See our newest window and door installations, design inspiration, and project updates.